How to Fix Hairline Cracks Before They Ruin Your Floor Coating
Key Points:
- Hairline cracks in concrete are more common than you think
- Skipping repairs before coating can lead to peeling and failure
- Proper prep and crack filling ensures long-lasting adhesion
- Anyone can fix hairline cracks with the right tools and timing
You’ve finally decided to upgrade your garage or basement floor with a professional coating—but then you spot it: a thin, barely-there crack running across the concrete. Should you worry?
“It’s just a hairline crack... can’t the coating just cover that?”
Short answer? No. Ignoring even small cracks can cause major issues once your coating is installed. But the good news? Fixing them is easier than you think.
What Causes Hairline Cracks in Concrete?
- Shrinkage: As concrete cures, it contracts—and sometimes creates fine cracks.
- Temperature changes: Freeze-thaw cycles (hello, Canadian winters) put stress on the surface.
- Moisture or improper curing: Can leave the surface brittle or flaky.
Most hairline cracks are harmless—until you trap them under a coating. That’s when they can spread, cause lifting, or telegraph through the finish.
Why You Need to Fix Cracks Before Coating
Even a small crack can lead to:
- Peeling and delamination: Coating lifts because it can’t bond evenly across cracks.
- Moisture seepage: Trapped water under the surface can create bubbles or haze.
- Visible flaws: Cracks show through the final finish, ruining the seamless look.
Tip: Think of your coating like paint on a wall. Would you paint over cracks in drywall? Same logic—fix first, then finish.

How to Repair Hairline Cracks (Step-by-Step)
1. Clean the Area Thoroughly
- Remove dust, oil, and debris using a vacuum and degreaser
- Use a wire brush or scraper to open up the crack slightly if needed
2. Choose the Right Crack Filler
- Use a low-viscosity epoxy or polyurea crack filler made for concrete floors
- These penetrate deeply and harden without shrinking or cracking again
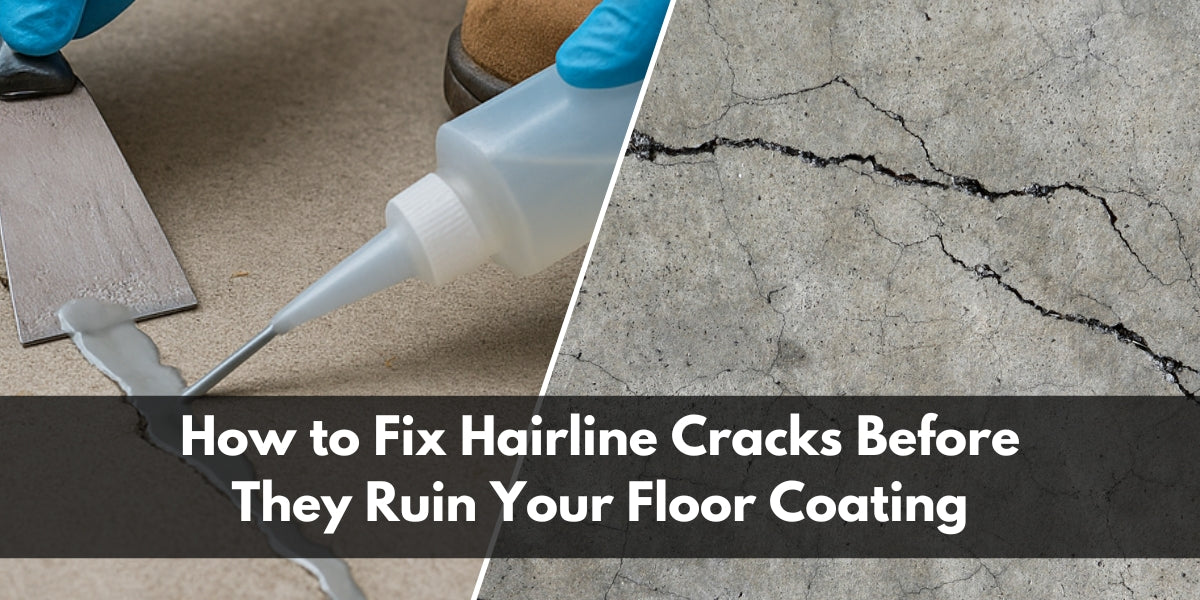
3. Fill the Crack
- Inject or pour the filler into the crack
- Use a putty knife to level the surface flush with the rest of the floor
4. Allow to Cure Fully
- Follow product-specific cure times (often 2–8 hours)
- Never rush to coat before it’s dry—you’ll trap solvents or bubbles
5. Lightly Sand if Needed
- If the filled crack is raised, sand it flush with the floor using 80–120 grit
Now You’re Ready for Coating
Once your hairline cracks are filled and flush, your surface is ready for primer and coating. And now your new floor won’t just look great—it’ll last.
FAQs
-
Do all cracks need to be filled before coating?
Yes—even hairline ones. Skipping this step can reduce coating adhesion and durability. -
Can I use caulk or general concrete patch?
No. Most of those are too soft or shrink over time. Use a proper epoxy or polyurea crack filler. -
How do I know if a crack is structural?
If it's wide (more than 1/8"), keeps growing, or has displacement, call a pro to inspect before coating. -
Do I need to grind the floor after fixing cracks?
Yes, especially if installing epoxy or polyaspartic coatings. Grinding ensures even bonding across the floor. -
Where can I get crack filler that works with floor coatings?
You can shop pro-grade crack repair and prep products at PowerCoat Canada.
Hairline cracks are normal—but ignoring them can lead to costly rework. Take an extra hour to fix them right, and your floor coating will thank you for years.
Need supplies to prep like a pro?
👉 Get high-performance crack fillers and floor prep tools at PowerCoat Canada today.